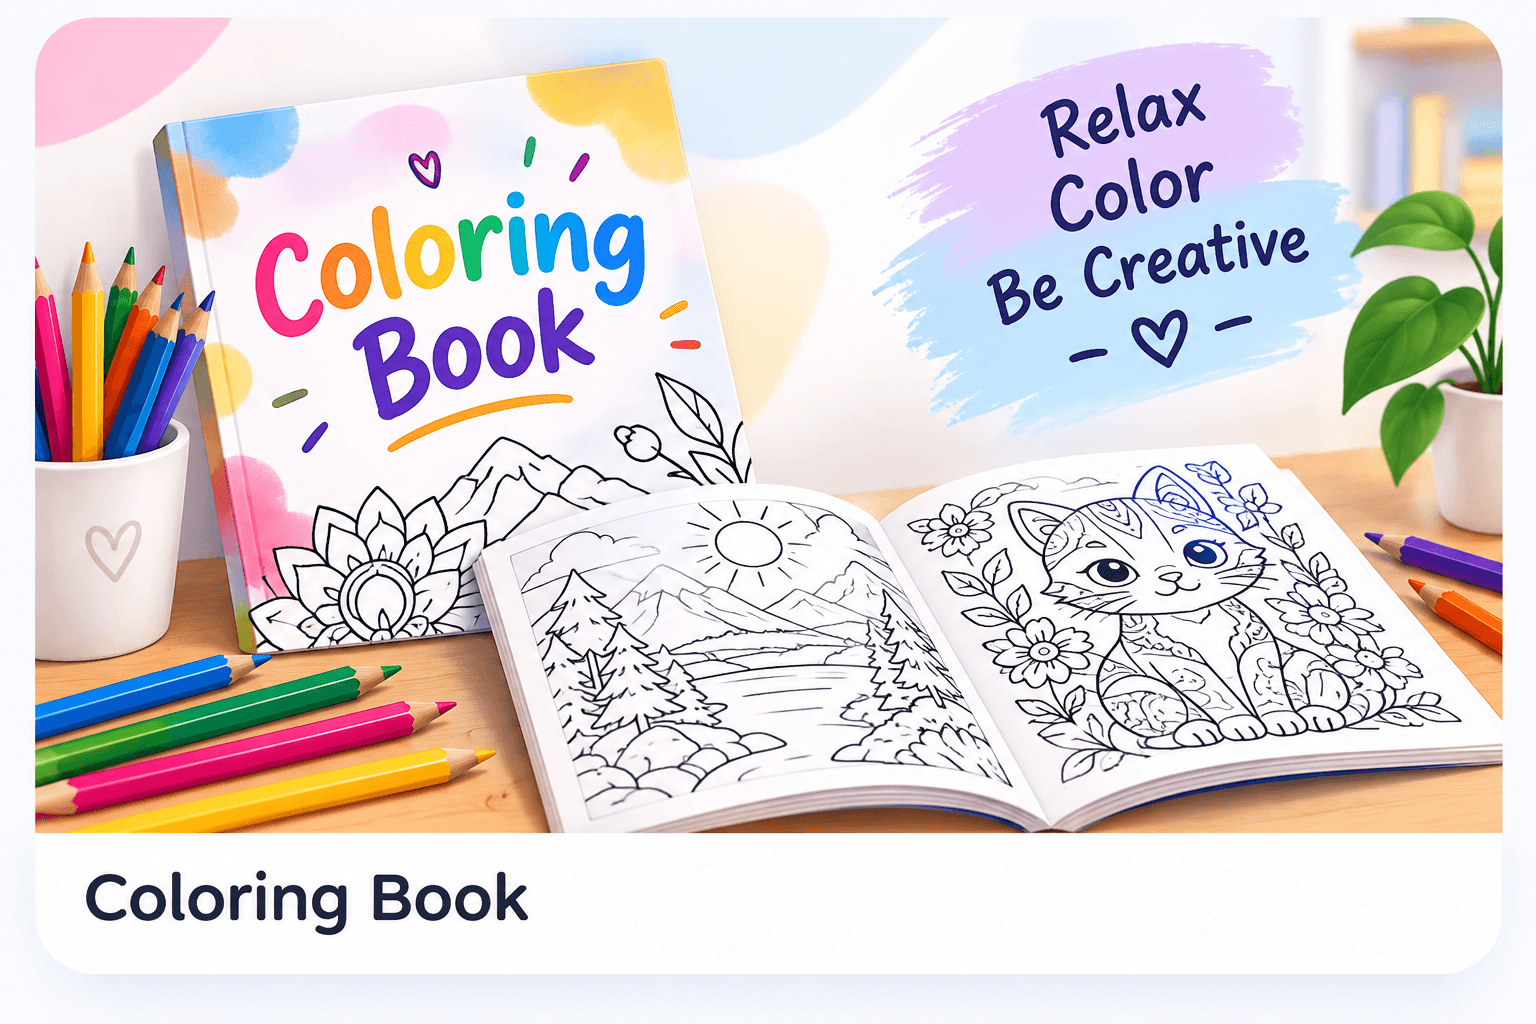
Begin with the original file
Use the downloaded image or PDF rather than a screenshot of a browser preview. Screenshots may include interface controls, reduce resolution, and capture the page at an arbitrary scale. A clean source gives you a better starting point for deciding how large the drawing can print. Keep the original separate from files you crop, resize, or color.
For PDFs, inspect each page's dimensions and orientation in the viewer. A document can contain different page proportions, so do not assume the first page represents every page. For raster images, pixel dimensions matter more than a filename containing ‘A4’ or ‘high resolution’. Enlarging an image does not add drawing detail that was not present in the source.
Understand A4, A3, and image proportions
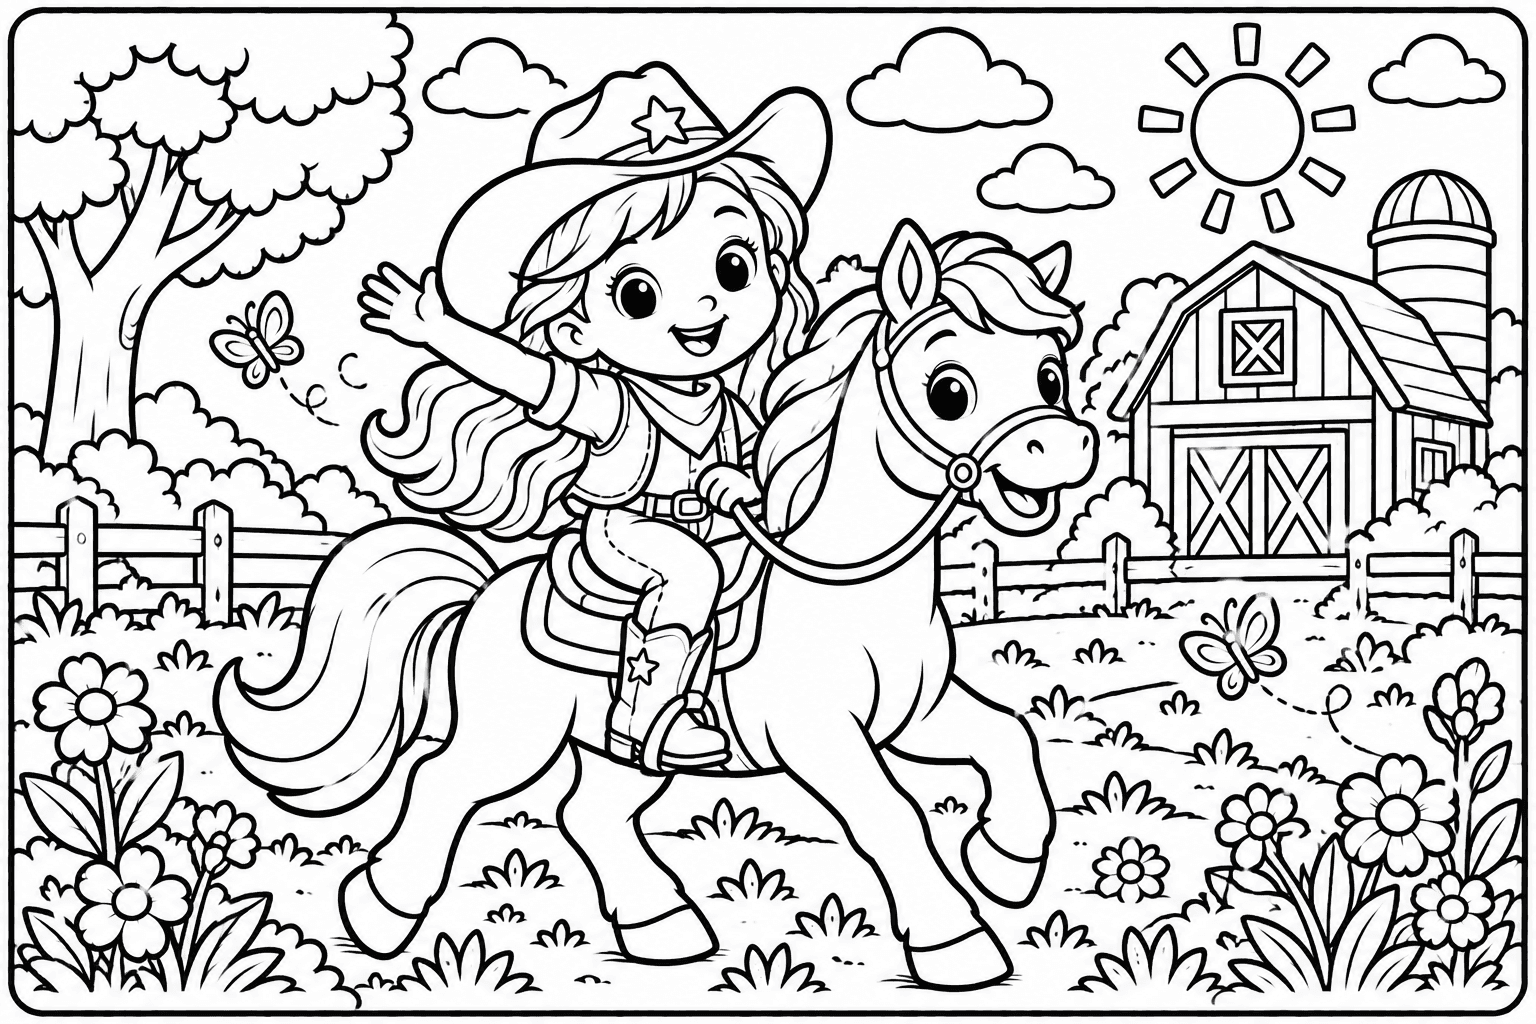
A4 is 210 × 297 mm; A3 is 297 × 420 mm. Landscape simply turns those dimensions around. A3 has twice the paper area of A4, but it does not make a low-resolution image sharper. Fit a landscape drawing within the paper without stretching it. White margins are preferable to distorted faces or wheels caused by changing width and height independently.
As a planning calculation, pixels divided by printed inches gives pixels per inch. A 1,536-pixel image printed 10 inches wide has about 154 pixels per inch at that width. A nominal 300 pixels per inch across a full A4 width would require about 2,480 pixels, before considering margins. These numbers help assess scale; line clarity, compression, paper, and the printer still determine whether the result is acceptable.
Check outlines and small details
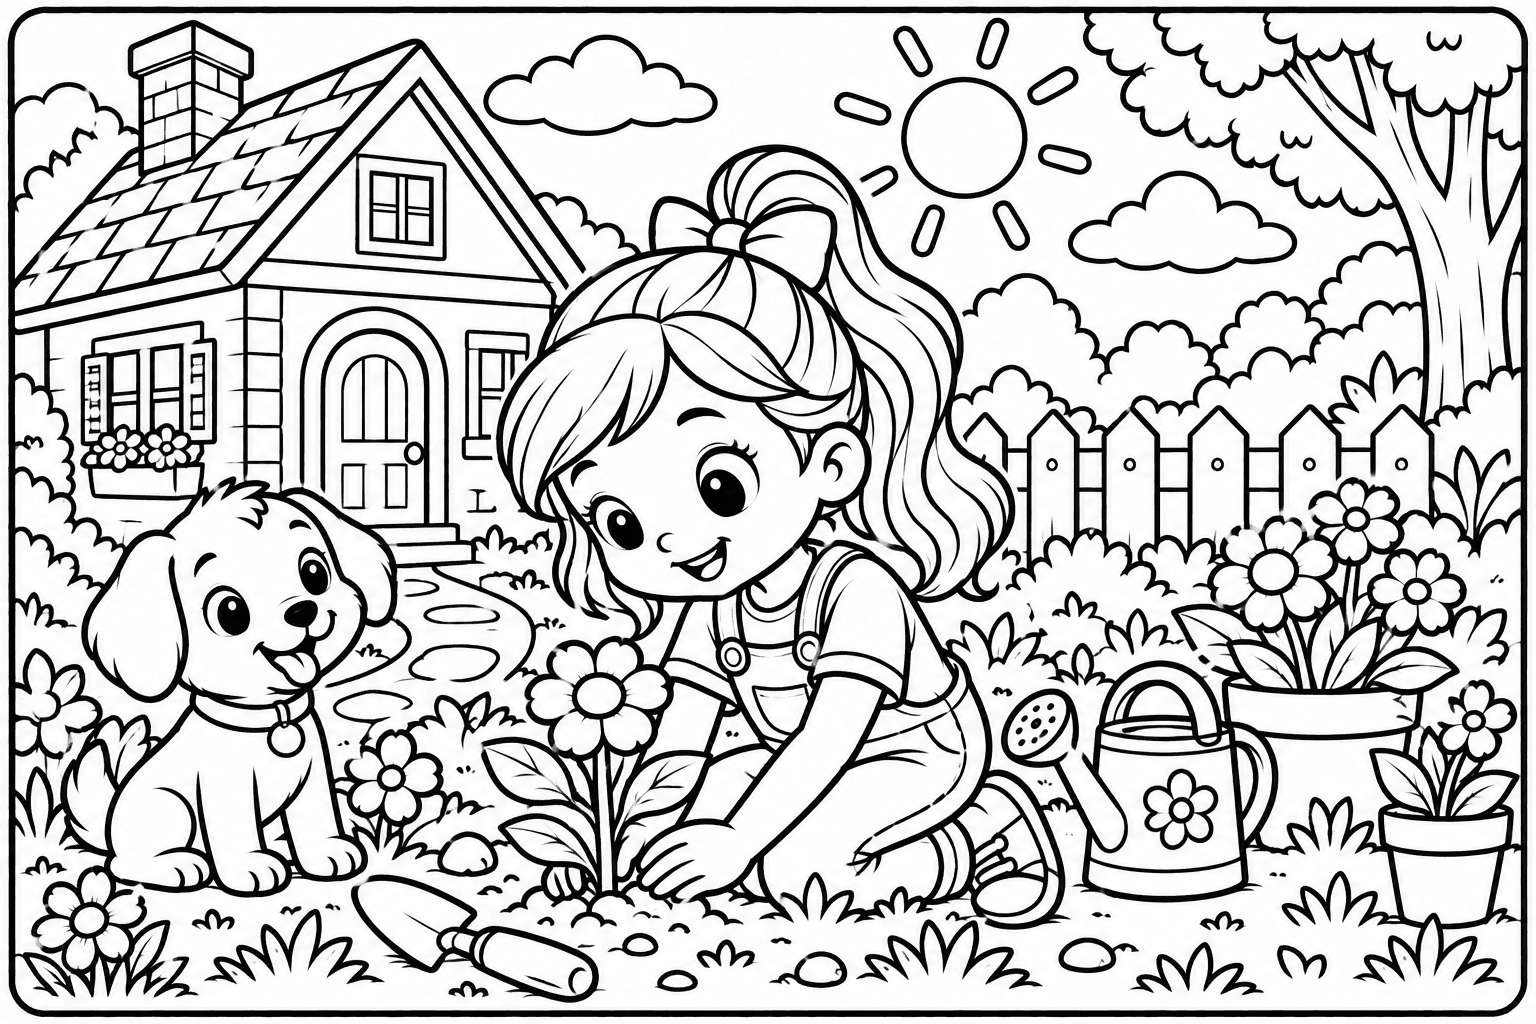
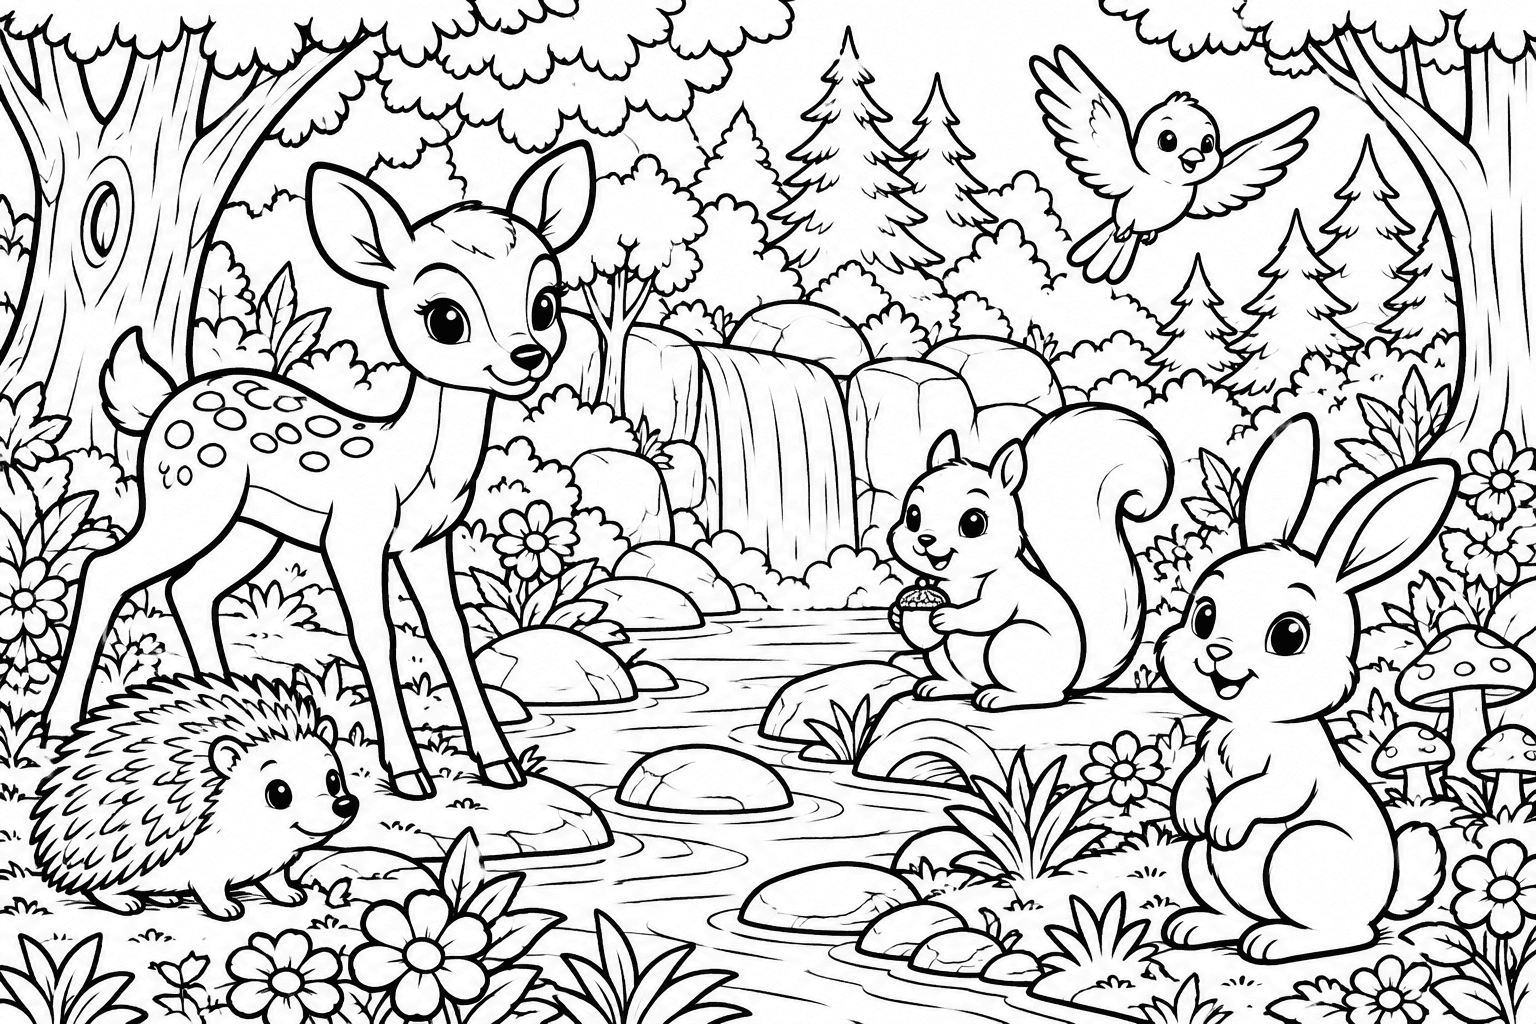
Look at the drawing at the intended print size. Thin gray lines may disappear, and dense detail can turn into dark patches. JPEG compression can create faint blocks around black outlines; retain a PNG or the original PDF when available. Do not repeatedly re-save a compressed image while preparing it.
If you plan to color digitally before printing, inspect whether the drawing has closed regions. A tiny outline gap may allow fill into the background, even though the same gap is harmless when coloring with a pencil. Use undo and brush when necessary. Repairing the fill boundary inside a coloring engine does not increase the print resolution of the original artwork.
Print the current page from WonderStudio
WonderStudio's Print current page control opens a view containing the colored page, without site navigation or toolbars. Select A4 or A3 in the workspace first; the current artwork determines portrait or landscape orientation. You still need to select matching paper size and orientation in the printer's own dialog. The website cannot ensure that the printer has the correct paper loaded.
PNG download exports the current colored page rather than all pages of a PDF. If you are working through several pages, save or print them deliberately one at a time. Browser and printer settings may override page sizing, so review the print preview and check that the entire drawing is visible before sending the job.
- Open the image or PDF and select the page you want.
- Choose A4 or A3 and use Print current page.
- Match the printer dialog's paper and orientation to the artwork.
- Check preview margins and scaling, then print one test page.
Choose scaling and color settings deliberately
Actual size preserves the document's dimensions but can crop anything outside the printer's printable area. Fit-to-page reduces or enlarges content to fit available space. For a single coloring drawing without required measurements, fit is often practical; for a planner or sticker sheet whose dimensions matter, measure the test print before continuing. Borderless printing is only suitable when the printer and media support it.
For black-and-white line art, compare a grayscale or black-ink setting with the normal setting if your printer offers both. For a colored page, use a suitable color setting and avoid assuming screen brightness predicts the result. Disable browser headers and footers if they appear in the preview. Paper compatibility and media instructions should come from the printer and material manufacturer.
Diagnose the first test print
If edges are clipped, check margins and scaling before changing the artwork. If circles look oval, inspect whether the image was stretched. If lines look fuzzy, try a smaller print size or a higher-resolution original. If the result is too pale, compare print quality and ink settings on a small sample. Solve one variable at a time so you can tell which change helped.
Keep a note of the successful paper size, orientation, scaling, and media setting. Then print the remaining pages using the same setup, while checking pages with different proportions separately. A small test costs less time and material than discovering after a full batch that every landscape page has been cropped.
Need help with a specific tool? Visit Help & FAQ. See the terms draft for the content-license details still awaiting owner approval.