Choose a drawing that suits the tools
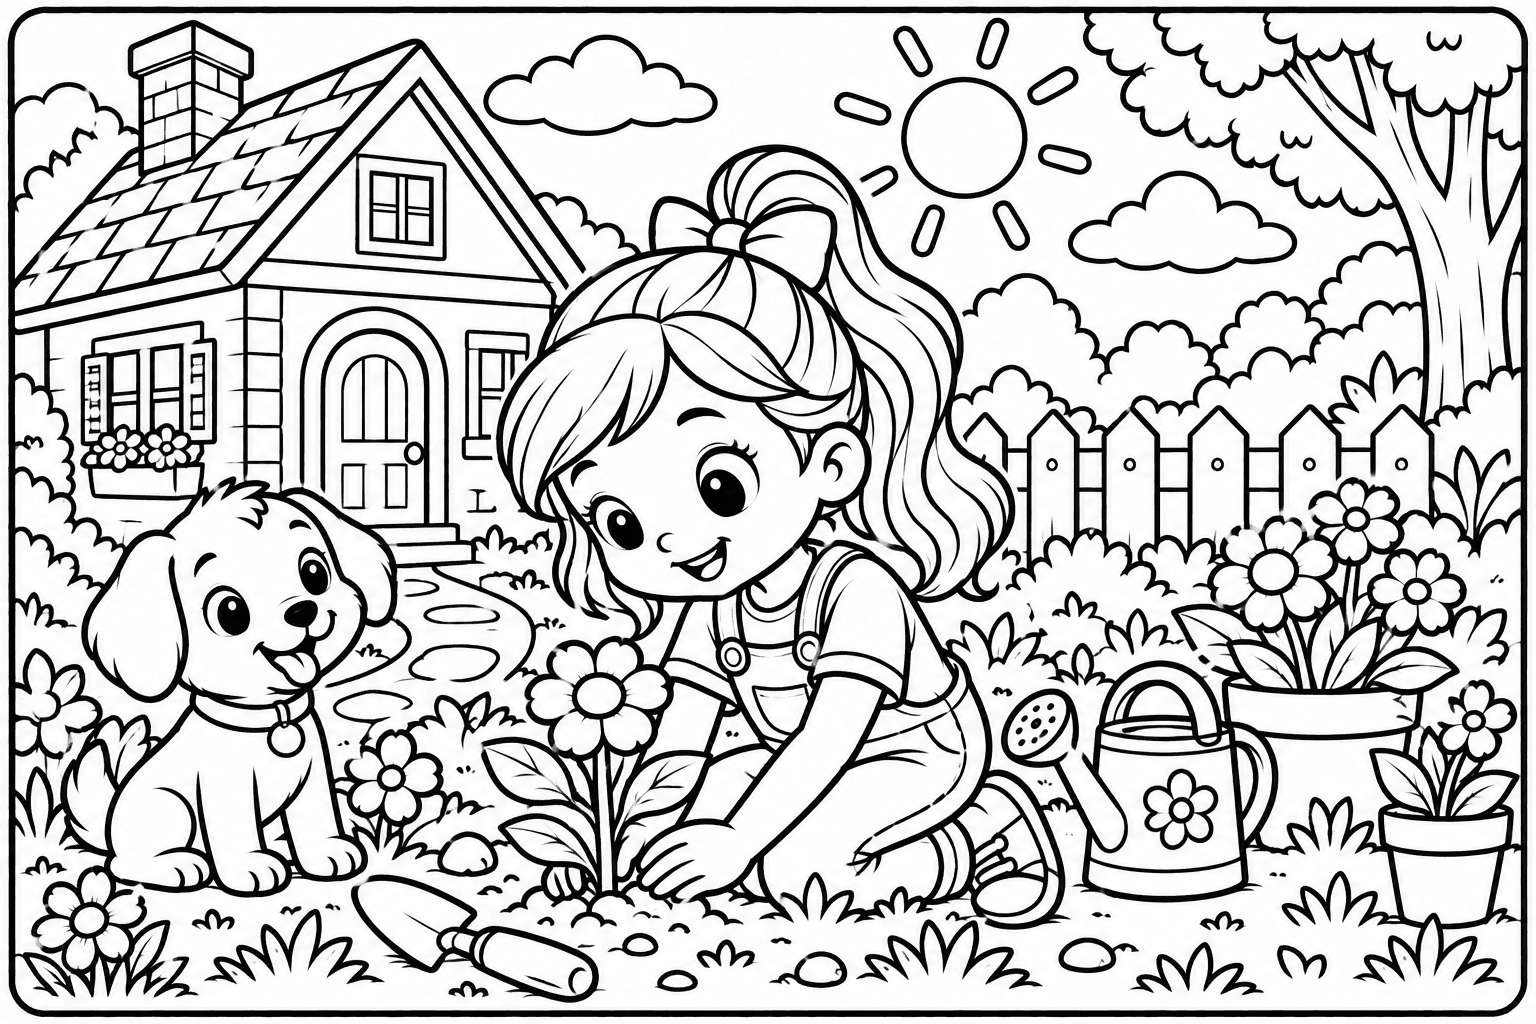
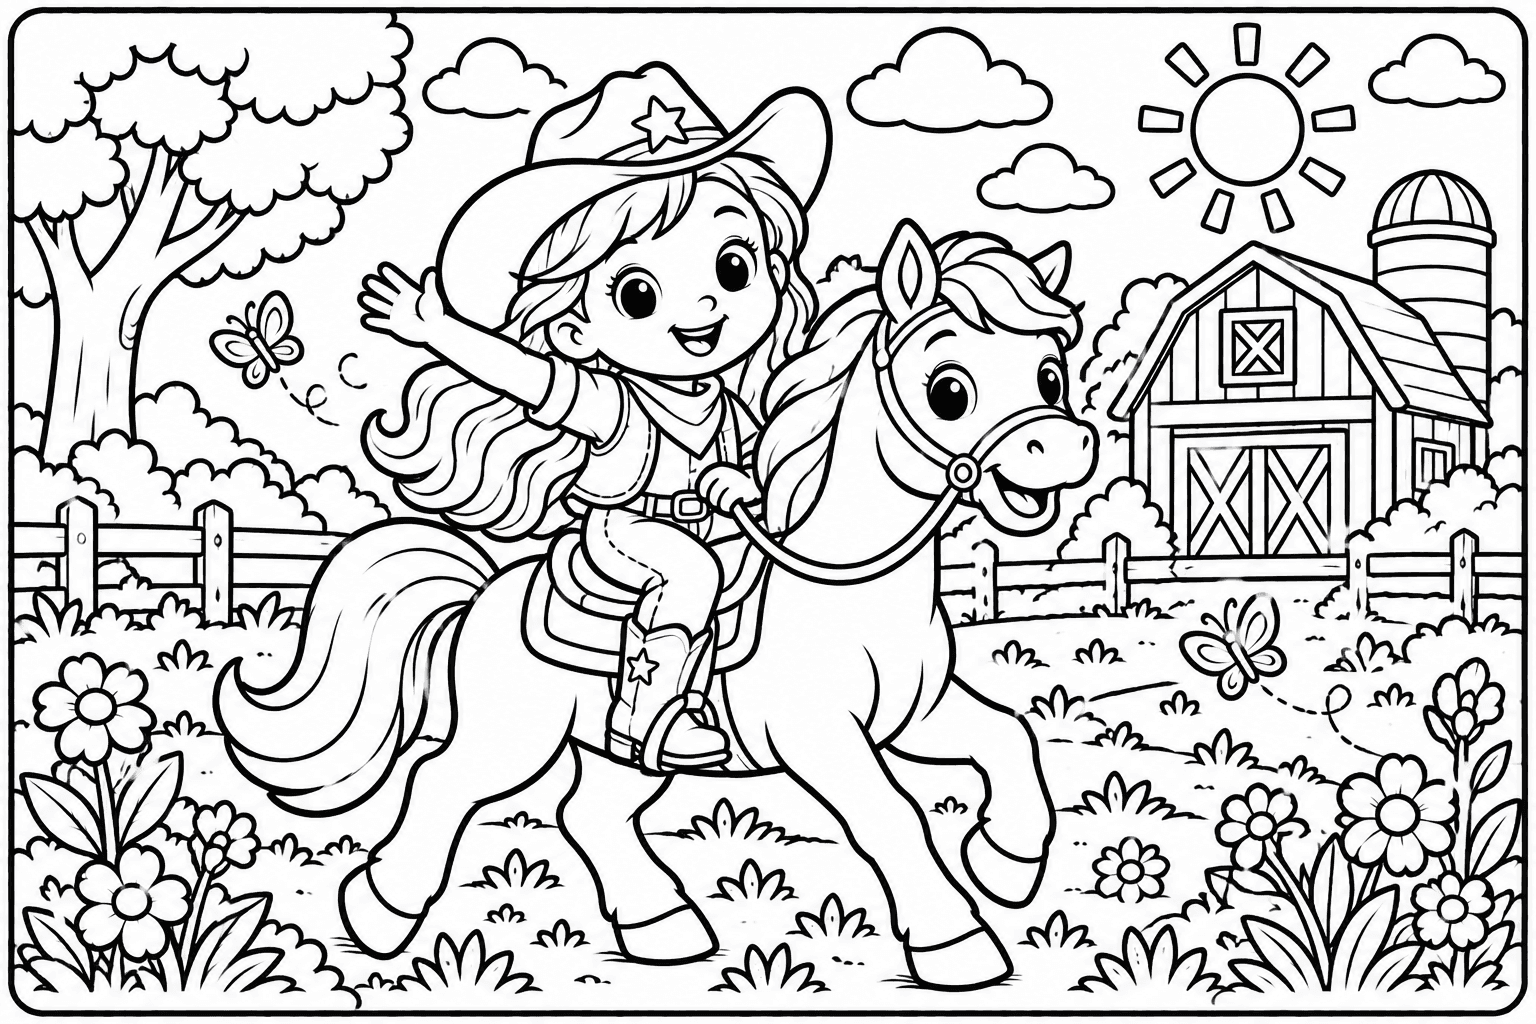
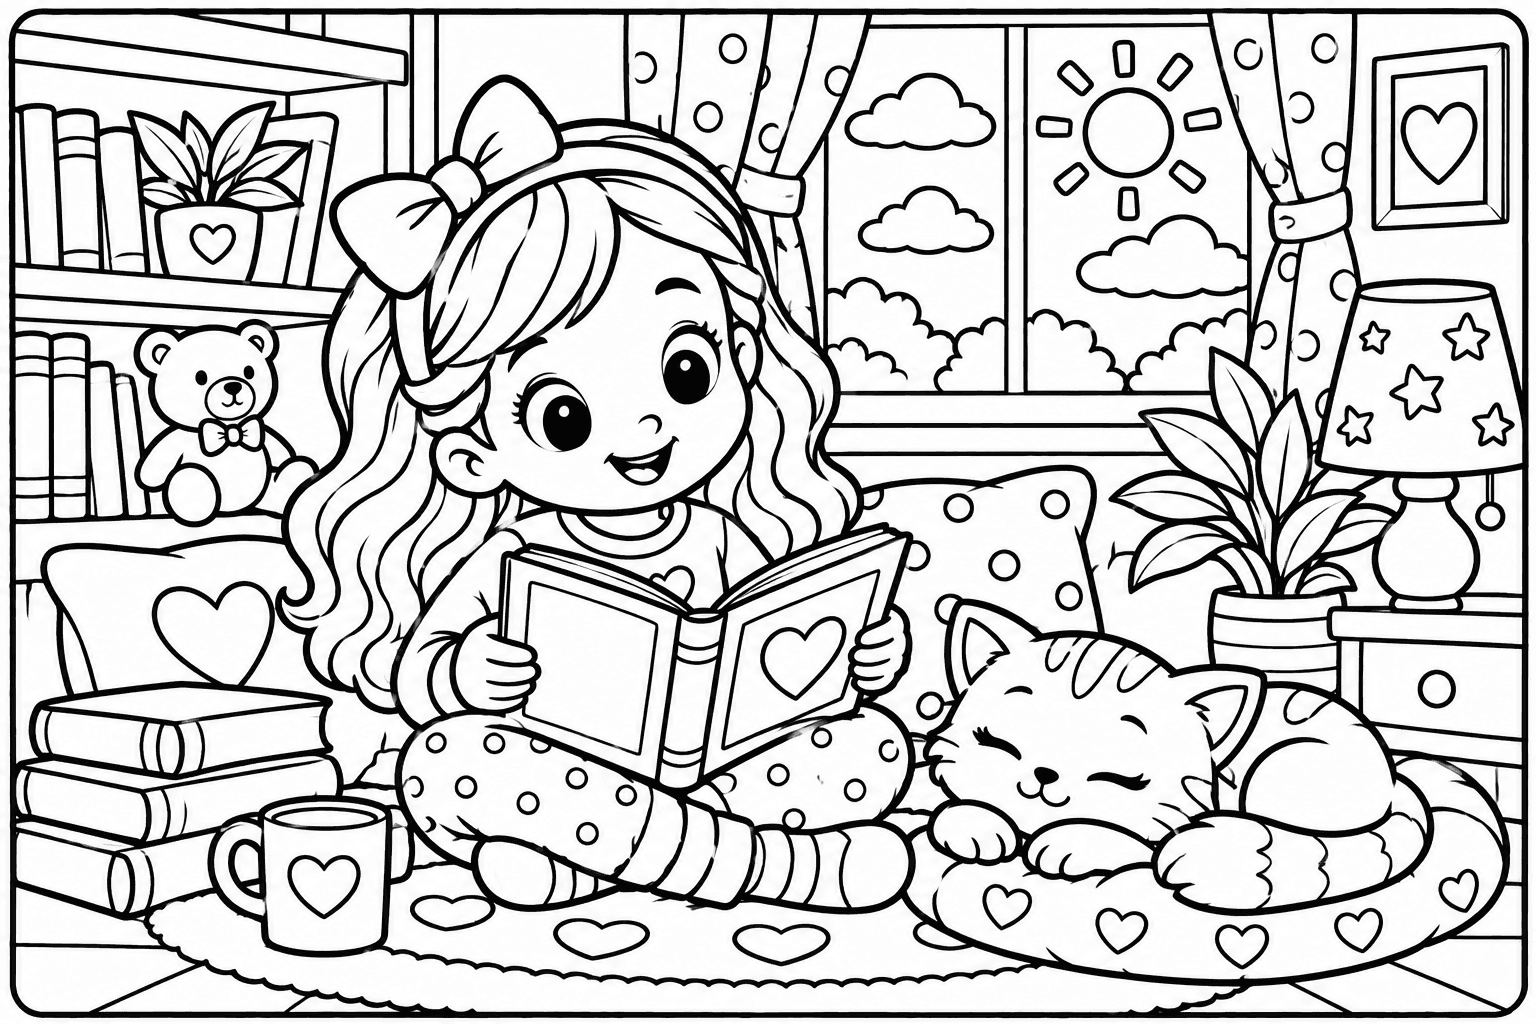
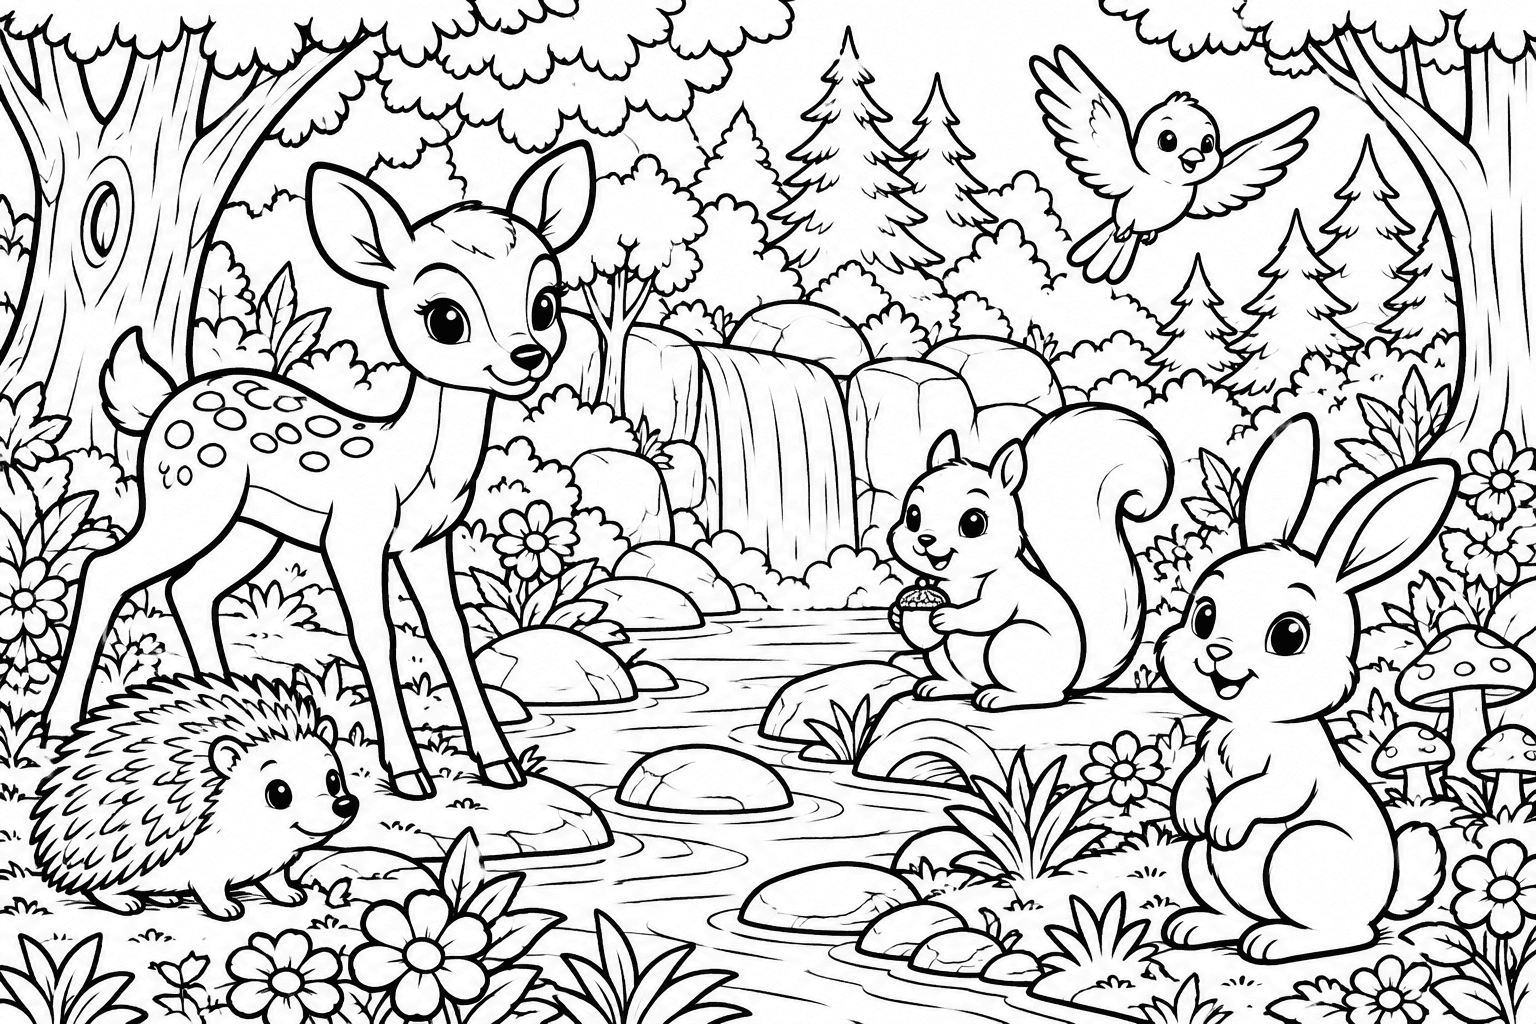
Digital coloring works best when the drawing has clear, dark outlines and enough space inside each shape. A white background with closed contours gives bucket fill a useful boundary. Photographs, shaded pencil sketches, and heavily textured line art can be colored with a brush, but they may not divide into neat fillable regions. Start with broad shapes before moving to detailed faces or foliage.
WonderStudio can open PNG, JPG, WEBP, and PDFs. The current limit is 40 MB, with PDFs of up to 100 pages. Ordinary personal files selected in the workspace are processed in the browser. Keep a copy of your original file on your device; the open session is not a permanent project backup. If a remote image cannot open because of storage permissions or CORS, download it through a permitted route and use Open file.
Pick a small palette before adding detail
Select a few main colors and a lighter and darker shade of each. For a woodland scene, you might use a warm brown for animals, two greens for leaves, and a pale blue for water. Those are suggestions, not required choices. Repeating a limited set of colors makes a busy scene easier to read than using a different saturated color for every object.
WonderStudio offers easy colors and a full studio palette with color families, custom color selection, and a light-to-shadow shade strip. Start with the base shade, then add shadow with the brush if you want dimension. Very dark fills can hide subtle lines even when the original outline is protected; zoom in and judge the result at normal viewing size too.
Use each tool for the job it does well
Fill colors a connected region from the point you select. Brush draws where you drag, with an adjustable size. Eraser removes applied color while preserving the source artwork. Move lets you reposition the view rather than paint. Undo and redo let you compare decisions without resetting the entire page. Switch tools deliberately, especially when zoomed into a small area.
On a phone or tablet, use the available move and zoom controls to reach an eye or small leaf before coloring it. A touch covers more of the image than a mouse pointer, so a larger on-screen view helps place the stroke accurately. For broad shapes, return to a lower zoom so you can see the whole object. Test the brush size on a forgiving area before drawing alongside a face outline.
- Open a drawing and choose a base color.
- Use Fill on a clearly closed, medium-sized shape.
- Choose Brush and adjust its size for small accents.
- Use Undo after an unwanted stroke, or Eraser for a deliberate local correction.
- Switch to Move before dragging the view; save a PNG when you reach a useful stopping point.
Handle a fill that reaches the wrong area
Fill follows connected pixels, not the meaning of an object. A cloud with an open contour can be connected to the sky; an unfinished face outline can connect a cheek to the background. Tiny breaks are sometimes repaired using an internal boundary mask, without visibly thickening the source drawing. Larger openings or ambiguous connections cannot always be repaired automatically.
If the result crosses a boundary, undo immediately and inspect the opening at a higher zoom. Try a conservative gap setting when it is available, then test again. A stronger setting can join nearby lines that should remain separate, so it is not always an improvement. For an intentionally open shape, use a small brush and color the area manually. Painting a colored stroke across a gap is not guaranteed to repair the engine's original-art boundary mask.
Build up the page and protect your progress
Work from larger areas to small details. Filling the water, ground, and main characters first gives you a composition to judge. Then add a few shadows or decorative accents. Keep eyes, mouths, and tiny spaces for a careful pass at higher zoom. Review the whole page between detail passes so one corner does not become much darker than the rest.
For a multipage PDF, use page navigation; colors are kept when switching pages during the same session. Save each page you want to keep before closing or refreshing the tab. Reset removes the coloring on the current page and deserves a deliberate decision. Undo history and session edits are not stored in the exported PNG.
Download or print the finished page
PNG downloads the current colored page as an image. Use a filename that identifies the page and version, and retain the source drawing separately. Reopening a flattened colored PNG does not restore the earlier editable history. For printing, use Print current page, select A4 or A3, and match that paper size and the artwork's orientation in your printer settings.
A screen and printer can show colors differently. Print a sample before committing to a large sheet or several pages, and use the guide below to check dimensions and margins. Digital coloring is a flexible way to experiment; a good session ends with an actual saved file rather than a browser tab you hope to return to later.
Need help with a specific tool? Visit Help & FAQ. See the terms draft for the content-license details still awaiting owner approval.